knitting, sewing, tutorial

Tutorial: Lining knit hats with fleece

I really enjoy knitting, and hats are one of my favourite items to make. I finished a hat for myself a little while ago that I wanted to line with fleece. I really like finishing hats with a lining – it makes them basically wind proof significantly warmer, a huge plus for our Yukon winters! As well, this can solve any itchiness for people who find wool irritating. I get asked how to do this every so often so I thought I’d take some photos of the process and post as a tutorial.

1: Select materials and make a pattern

You’ll need a finished knit hat, some polar fleece, and matching thread. I recommend making the knit hat a bit large for the recipient, since adding fleece will take up additional space inside the hat. My hat was a variation on my Simone’s Hat pattern that used slightly thinner yarn (Lion Brand Woolspun in the gorgeous Peacock colourway, a wool/acrylic blend). I find tightly spun acrylic/wool blends hold up well to being punctured by sewing thread – something loose, like a wool roving, may pull apart where the fleece is stitched in.

I fold my knit hat into quarters and trace it onto paper, leaving about an extra 1/2″ for the seam allowance.

hatpattern.jpg

2: Cut fleece 

Use this pattern to cut out four pieces of polar fleece. I make sure that I line up my pattern pieces so that the fleece stretches horizontally.

fleececutout

3: Assemble a fleece hat

Next, I pin two of my pattern pieces together and seam one side (repeat x 2). I use a 1/2″ seam allowance and a regular straight stitch. Clip the curves – here is a good tutorial if you’re unfamiliar with this process.

Then attach these two halves to finish making a fleece hat and clip those curved seams as well. I push the seams open with my fingers.

fleecehatpinned

4: Attaching the two hats

Insert the fleece hat into the knit hat with wrong sides together. I find I have to push and shape the two hats into one another at this stage to get the right fit.

insertfleecehat

Then turn the bottom edge of the fleece up into the knit hat, tucking the raw edge under, and pin right at the cast on edge of the knit hat. I find it helps to pin the seams of the four quarters first, then work my way around. You shouldn’t be able to see the fleece peeking out when looking at the right side of the knit hat.

pinnedknittedhat

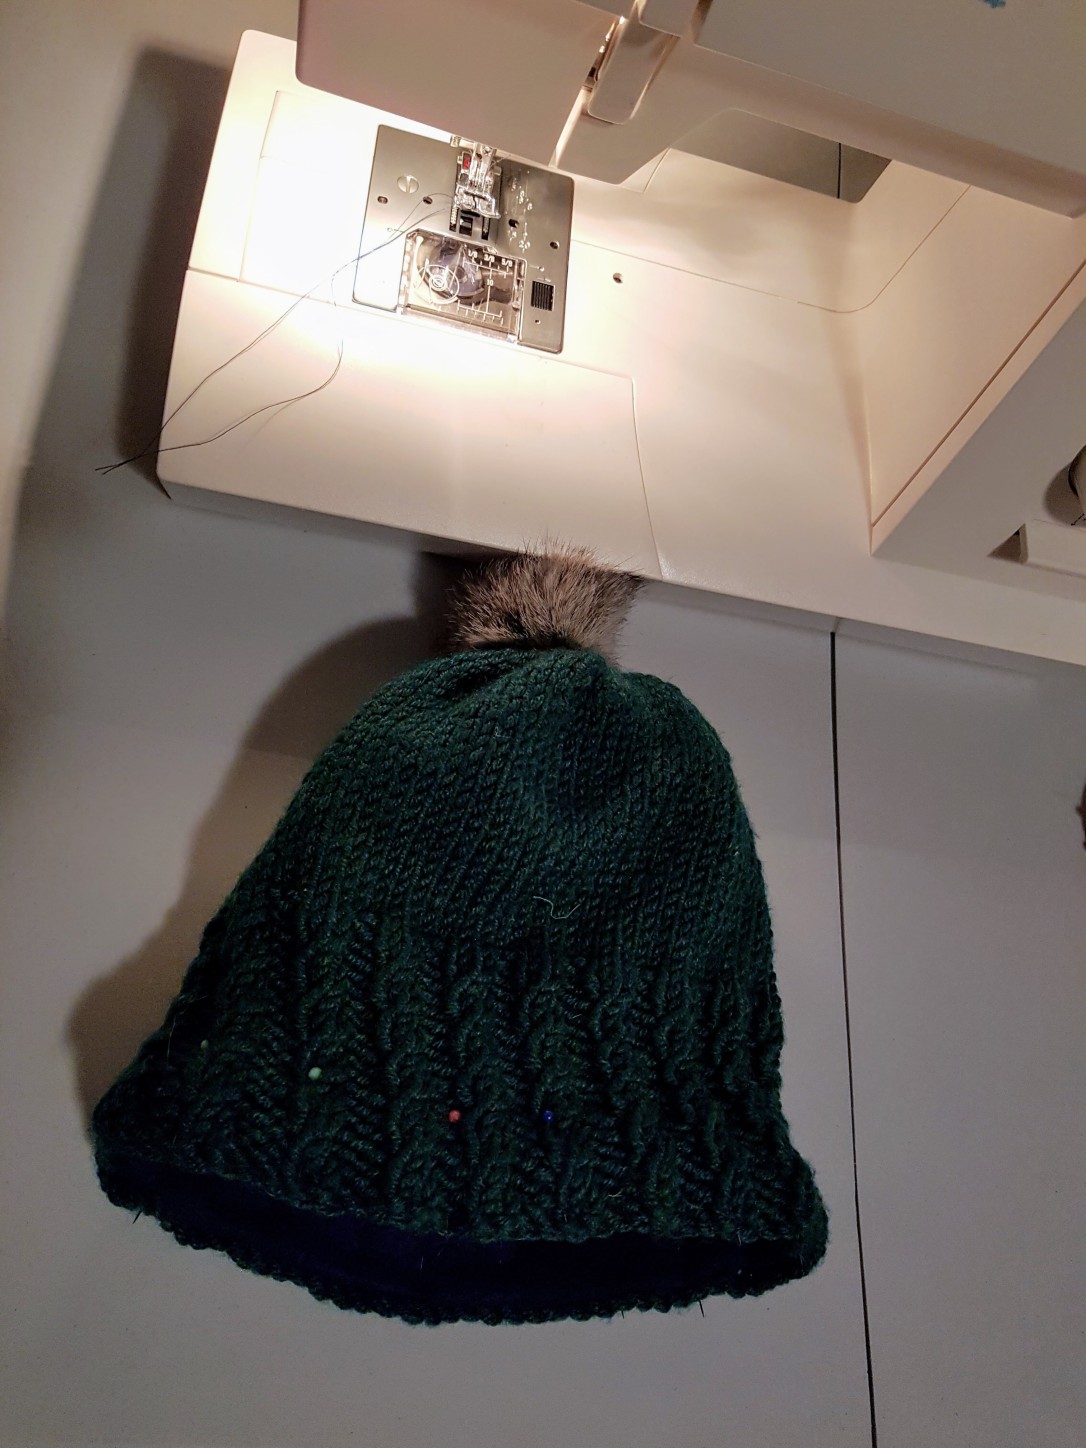
Finally – this is very important –  switch the stitch setting to tricot stitch. This stitch, which is 5 little stitches in a triangle shape, has some stretch to it which preserves the stretch of the fleece and knit fabric, ensuring the hat will still fit. Then stitch around the bottom of the hat. I keep the cast on edge right at the outside of my presser foot.

5: Admire your finished product

That’s it! The photo below shows the tricot stitch inside the brim. If you like, you can hand sew a few stitches at the crown of the hat to keep the fleece from pulling out of the top of the hat.

stitchinginsidebrim

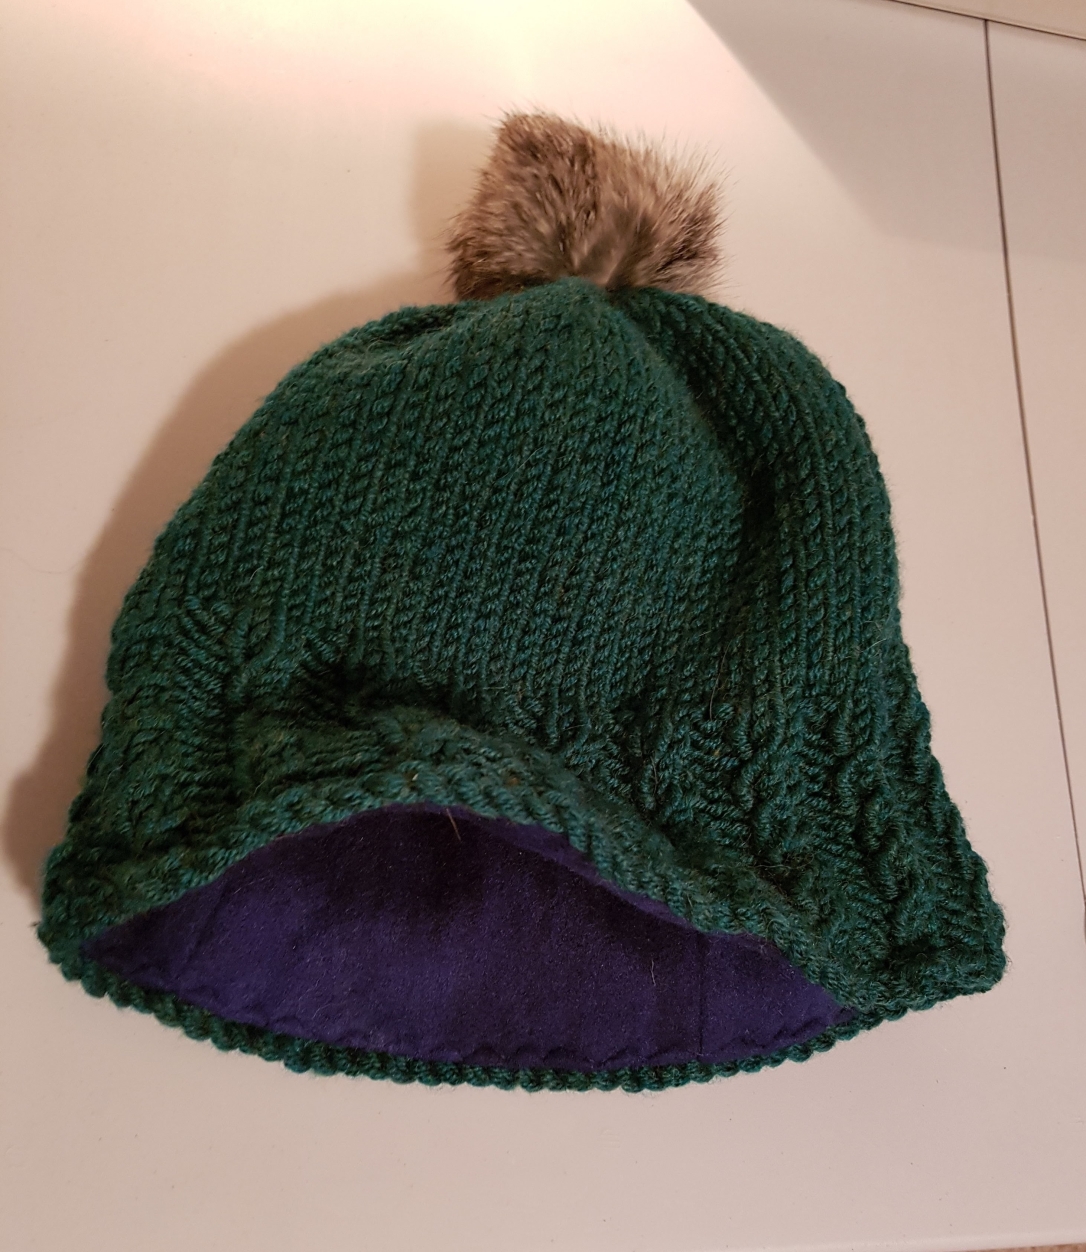
I find the tricot stitch blends in quite well, particularly into the baby cable ribbing used in this example, so the finished look of the knitting isn’t affected. I attached the leather tag by hand as a final step.

finishedproduct

In total, lining the hat took me about half an hour from start to finish (not counting knitting time, of course.) I hope you found this tutorial helpful! Leave a comment if you’re looking for more detail or have any questions.


knitting, knitting pattern, pattern

Simone’s hat

It’s been a while since I posted on here –  what better way to get back at it than with a new knitting pattern?

My dear friend Simone requested a bun hat earlier this spring – and then got a pixie cut. Because she’s a champ she wore it camping all summer anyway, but I felt bad that she had a hole in the top of her toque that she didn’t need! I insisted on making her a proper hat. She asked for orange, which ended up being the perfect match for this grey rabbit fur pom  pom. I liked the result so much – it’s the perfect 3 hour hat – and I wanted to share it so that you can make one too.

simonehat

Materials: 

Cascade Yarns Lana Grande in colourway 6029 (100% wool) – 1 ball. This pattern will not use the whole ball. I had 26 g left over.
Size 11 circular needle (smaller than 22″) and double-pointed needles, or long circular needle for Magic Loop
Fur pom pom
Stitch marker
Tapestry needle

Size:

To fit an adult head (22-23″ circumference).

Pattern: 

Cast on 56 stitches and place marker. Join in the round. Be careful not to twist.
Rows 1, 2, 4, 5, 7, 8, 10, 11, 13, 14: – *K2, P2* repeat around.
Rows 3, 6, 9, 12: *Baby cable, P2* repeat around. To make a baby cable, knit two stitches together, leaving the stitches on the left needle. Knit through the first stitch again and slide both stitches off the needle. This should make a twist.

After 14 rows of baby cable ribbing, switch to stockinette stitch until your work measures 7″ from cast on edge. If you’re knitting for a larger head, you could make this section longer.

Decrease section: Switch to double pointed needles or Magic Loop once there are too few stitches to move comfortably around your circular needle.

*K6, K2tog* repeat around
*K5, K2tog* repeat around
*K4, K2tog* repeat around
*K3, K2tog* repeat around
*K2, K2tog* repeat around
*K1, K2tog* repeat around
*K2tog* repeat around

Cut the working yarn and thread it through the remaining stitches. Pull tight. Weave in ends and block. Once dry, attach fur pom pom.


knitting

A mild March

It’s been a quiet March. I went straight from Rendezvous madness into a very busy period at work so our weekends and evenings have been fairly low-key lately. I did sign up for a free sock class at the Heart of Riverdale Community Centre – the last class is tomorrow. The knitting circle there is doing a sock drive to collect 150 pairs of hand-knit socks to donate to the Outreach Van as a Canada 150 project, so they decided to offer a sock class in order to teach more people how to knit socks and therefore be able to participate in the project. It’s for a great cause – I made a few hats and neck warmers for the last Outreach Van drive in the fall but no socks – I’m down to the heel turn of my second sock so far. Somehow it is a bit smaller than the first one though, perhaps because I decided to learn Magic Loop to get away from the dreaded double points. It’s been fun to learn some new skills and support a good cause while doing so. Here’s hoping I can get through a few more pairs before fall.


knitting, knitting pattern, pattern

Latest knitting pattern: Textured band hat

This latest pattern has been sitting nearly complete on my desktop for a while, but with all of the Rendezvous madness of the last week I haven’t had time to finish it up until now.

After Mike gave us a hand with rescuing our skidoo from the bush, I wanted to make him a hat as a small thank you gift. (I made Bev a bun hat too, just because she’s awesome. We have the best neighbours). I really like hat patterns that have stranded colourwork as an accent in a band around the crown, and I’ve made quite a few like that over the years.  However, lately I’ve been enjoying chunky yarn and textured stitches so I decided to employ a similar concept to a colourwork band but using different stitches instead. I was quite pleased with the resulting hat so I decided to write down the  pattern to share. You can download it from Ravelry as a free pattern. Happy knitting!

bandhat.jpg

knitting, pattern

Knitting patterns: bun hats

A few weeks ago, I found a great pattern on Ravelry  for a messy bun hat – essentially, a toque with a hole at the back for your hair to poke through. I thought it was a really practical design idea for Yukon winters, and so did a lot of my friends! I’ve since had a handful of requests for these hats, so I decided to design two new patterns that would be simple but attractive. Both use bulky yarn and large needles so they are quick to knit. The first features baby cables around the brim of the hat for a bit of visual interest if using a single colour. I love variegated yarns, but I find they aren’t always shown off to their full advantage in a lot of patterns – the colours obscure the patterned stitches, or the yarn’s colours pool together in patches around the hat. I came up with the second pattern, featuring garter stitch around the brim, specifically to show off variegated yarns. You can download both patterns from Ravelry for free – the baby cable bun hat is found here and the garter stitch hat here. I hope you like them!