I really enjoy knitting, and hats are one of my favourite items to make. I finished a hat for myself a little while ago that I wanted to line with fleece. I really like finishing hats with a lining – it makes them basically wind proof significantly warmer, a huge plus for our Yukon winters! As well, this can solve any itchiness for people who find wool irritating. I get asked how to do this every so often so I thought I’d take some photos of the process and post as a tutorial.
1: Select materials and make a pattern
You’ll need a finished knit hat, some polar fleece, and matching thread. I recommend making the knit hat a bit large for the recipient, since adding fleece will take up additional space inside the hat. My hat was a variation on my Simone’s Hat pattern that used slightly thinner yarn (Lion Brand Woolspun in the gorgeous Peacock colourway, a wool/acrylic blend). I find tightly spun acrylic/wool blends hold up well to being punctured by sewing thread – something loose, like a wool roving, may pull apart where the fleece is stitched in.
I fold my knit hat into quarters and trace it onto paper, leaving about an extra 1/2″ for the seam allowance.

2: Cut fleece
Use this pattern to cut out four pieces of polar fleece. I make sure that I line up my pattern pieces so that the fleece stretches horizontally.

3: Assemble a fleece hat
Next, I pin two of my pattern pieces together and seam one side (repeat x 2). I use a 1/2″ seam allowance and a regular straight stitch. Clip the curves – here is a good tutorial if you’re unfamiliar with this process.
Then attach these two halves to finish making a fleece hat and clip those curved seams as well. I push the seams open with my fingers.

4: Attaching the two hats
Insert the fleece hat into the knit hat with wrong sides together. I find I have to push and shape the two hats into one another at this stage to get the right fit.

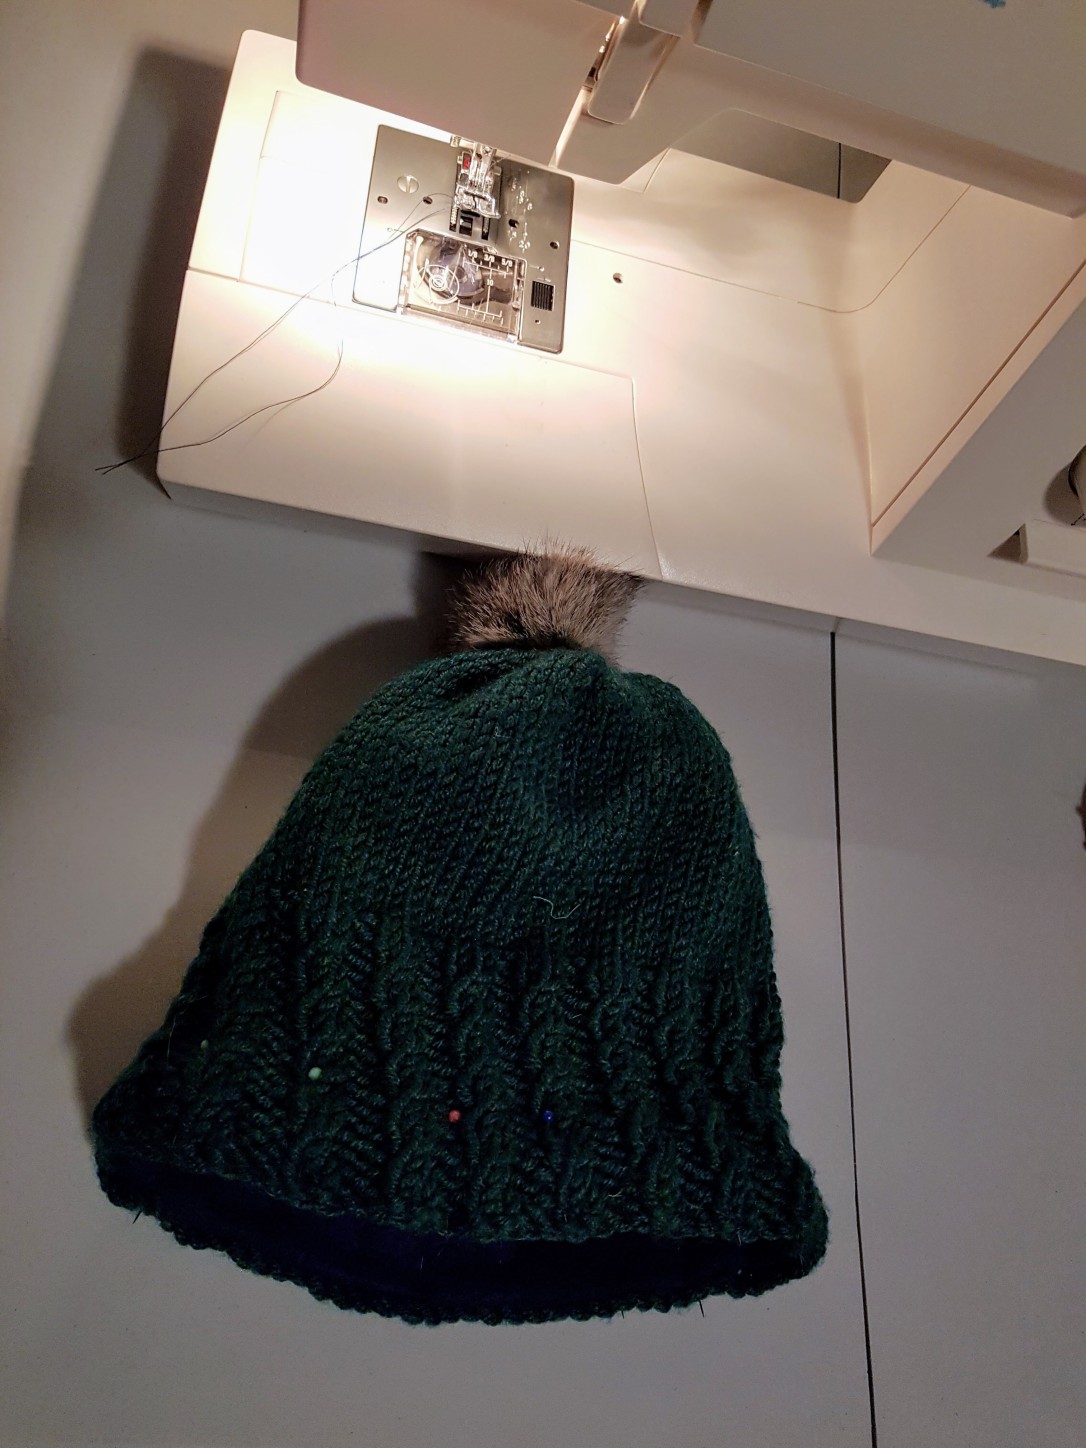
Then turn the bottom edge of the fleece up into the knit hat, tucking the raw edge under, and pin right at the cast on edge of the knit hat. I find it helps to pin the seams of the four quarters first, then work my way around. You shouldn’t be able to see the fleece peeking out when looking at the right side of the knit hat.

Finally – this is very important – switch the stitch setting to tricot stitch. This stitch, which is 5 little stitches in a triangle shape, has some stretch to it which preserves the stretch of the fleece and knit fabric, ensuring the hat will still fit. Then stitch around the bottom of the hat. I keep the cast on edge right at the outside of my presser foot.
5: Admire your finished product
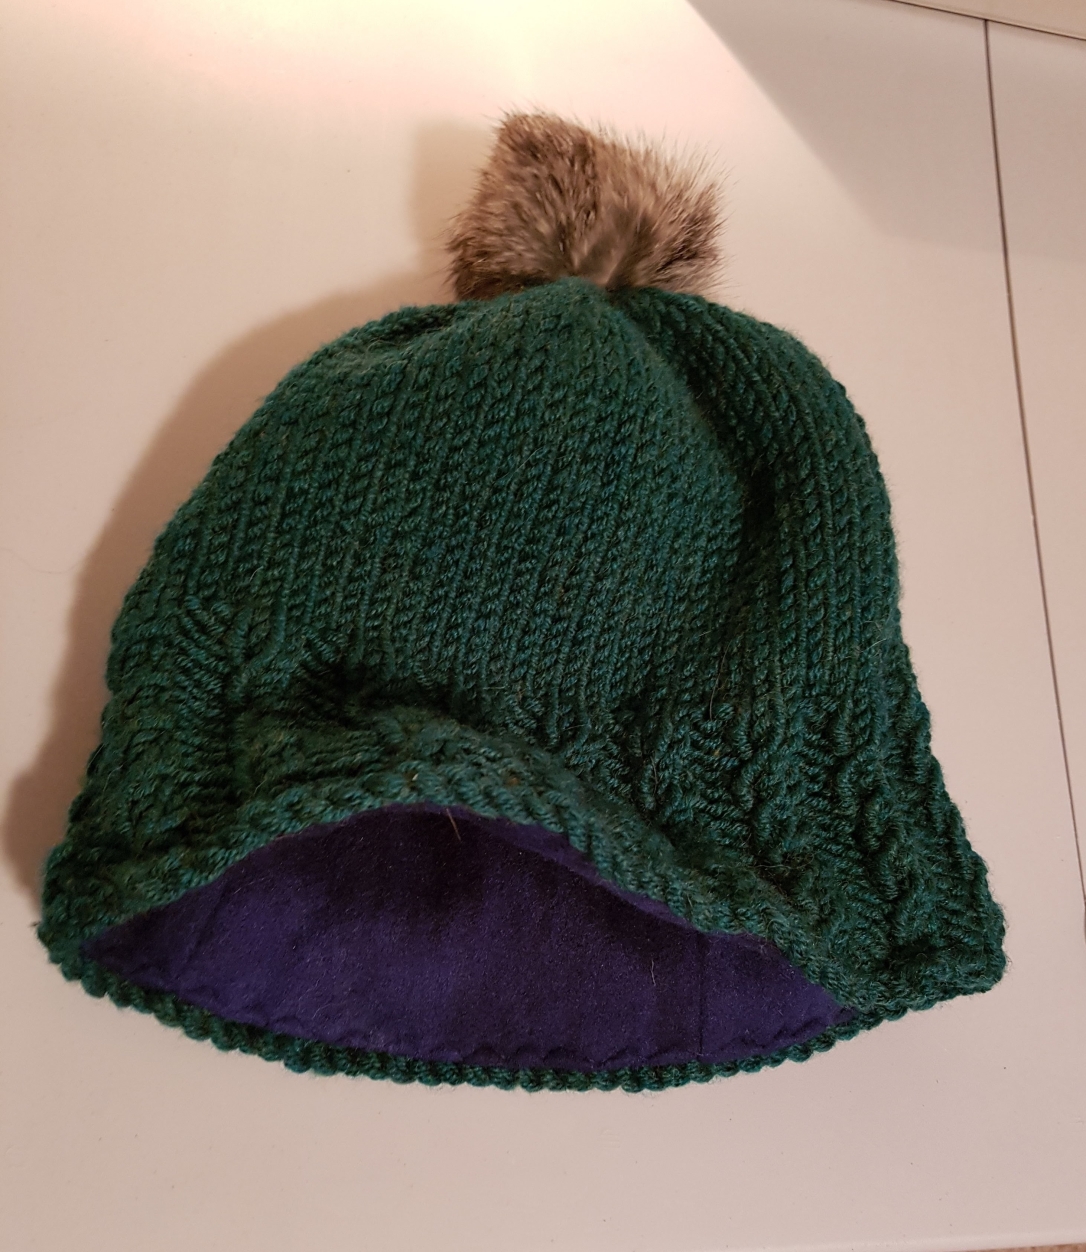
That’s it! The photo below shows the tricot stitch inside the brim. If you like, you can hand sew a few stitches at the crown of the hat to keep the fleece from pulling out of the top of the hat.

I find the tricot stitch blends in quite well, particularly into the baby cable ribbing used in this example, so the finished look of the knitting isn’t affected. I attached the leather tag by hand as a final step.

In total, lining the hat took me about half an hour from start to finish (not counting knitting time, of course.) I hope you found this tutorial helpful! Leave a comment if you’re looking for more detail or have any questions.


